Introduction#
OpenOnDemand or OOD for short, is an open source Web portal for High-Performance computing, developed at Ohio Supercomputing Center. OOD makes it easier for beginner HPC users to access the resources via a Web interface. OOD also allows for interactive, visualization and other Linux Desktop applications to be accessed on HPC systems via a convenient Web user interface.
- Since the end of October 2021, OpenOnDemand version 2 is officially in production on Grex.
- Since the beginning of January 2023, OpenOnDemand version 3 is officially in production on Grex.
- Since the beginning of February 2025, OpenOnDemand version 4 is officially in production on Grex.
For more general OOD information, see the OpenOnDemand paper
OpenOndemand on Grex#
Grex’s OOD instance runs on ood.hpc.umanitoba.ca and requires the Alliance’s Duo MFA to authenticate. The OOD instance is available only from UManitoba campus IP addresses – that is, your computer should be on the UM Campus network to connect.
To connect from outside the UM network, please install and start UManitoba Virtual Private Network: UM VPN . Note that you’d need the “VPN client” installation as described there; “VPN Gateway” will likely not work.
OOD relies on in-browser VNC sessions; so, a modern browser with HTML5 support is required; we recommend Google Chrome or Firefox or Safari, and their derivatives.
Also, OOD creates a state directory under users’ /home (/home/$USER/ondemand) where it keeps information about running and completed OOD jobs, shells, desktop sessions and such. Deleting the ondemand directory while a job or session is running would likely cause the job or session to fail.
Connect to OpenOndemand#
Connect to OOD on campus:
1. Point your Web browser to https://ood.hpc.umanitoba.ca . This will redirect you to our Keycloack IDP screen.
2. Use your Alliance/CCDB username and password to log in to Grex OOD.
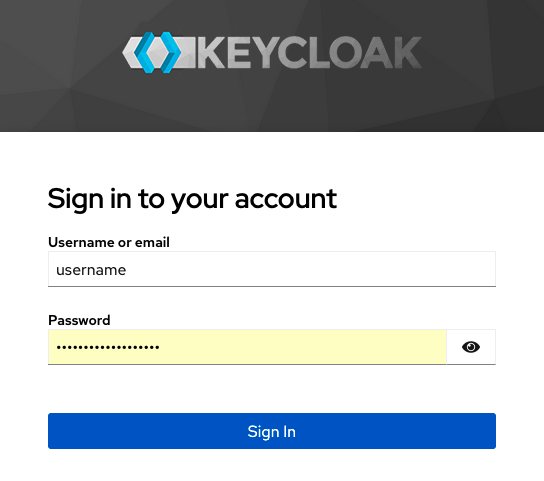
3. Provide Alliance’s Duo second factor authentication when asked.
Connect to OOD off-campus, using UManitoba VPN:
- Make sure UM Ivanti Secure VPN is connected. This may require using UManitoba MS Entra second factor authentication. Note that UManitoba uses a different MFA second factor than the Alliance!
- Perform the steps 1-3 as above.
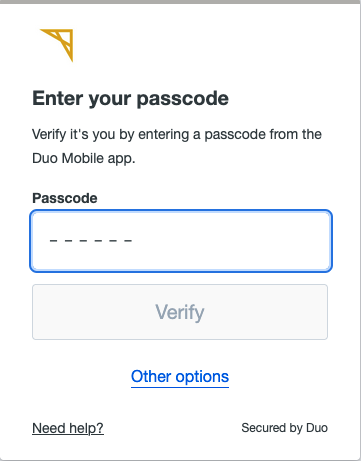
There are different options for the Alliance Duo MFA, like the 6 digits passcode generated by DUO mobile application:
or use the passcode generated by your YubiKey:
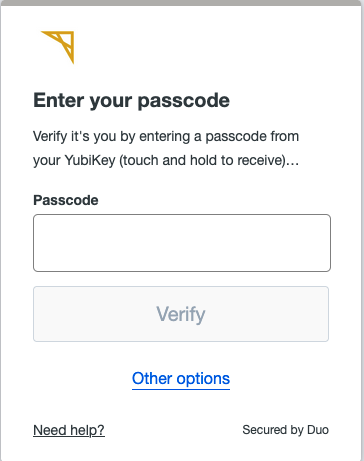
Or any other option by clicking on the menu “Other options”.
Once connected, you will see the following screen with the current Grex Message-of-the-day (MOTD):
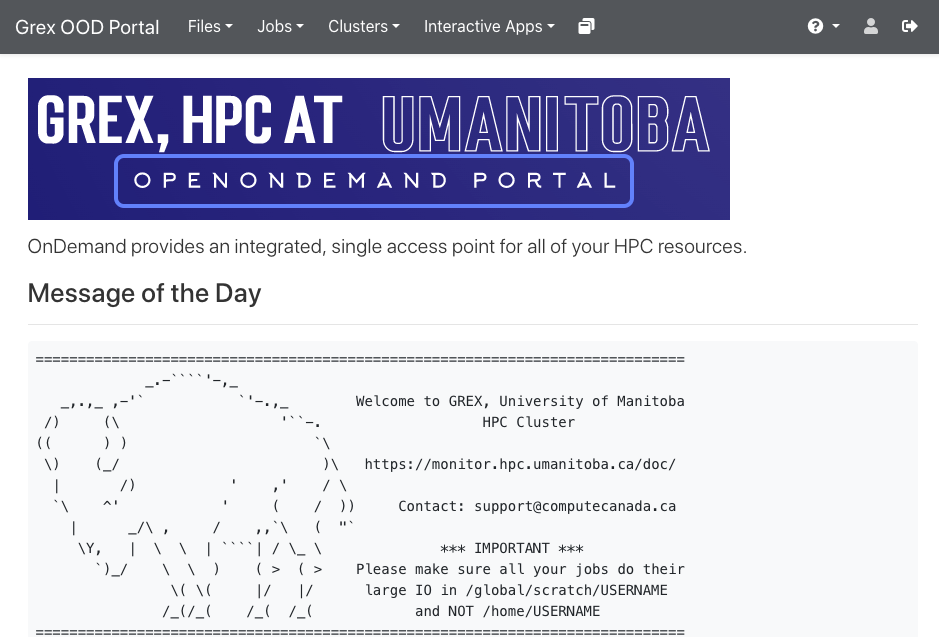
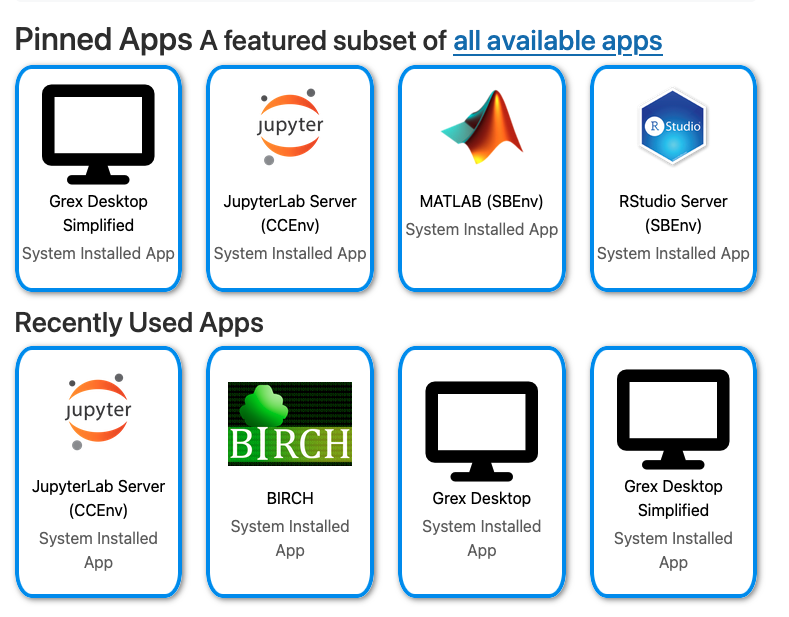
If you scroll dow, links to some applications will show up. They correspond to pinned applications and featured subset of all available applications.
Navigating OOD Web portal interface#
There are several areas of interest on the OOD main webpage: the Dashboard bar on the top of the screen, various menu items (such as Files, Clusters, Jobs, Interactive Apps and Sessions).
- OpenOnDemand: main Open OnDemand dashboard.
- Apps: link to the available OOD applications.
- Files: file browser and related operations (copy, download, delete, …).
- Jobs: Status of queues, and a JobComposer interface to submit batch scripts.
- Clusters: Status of Grex system and its SLURM partitions.
- Interactive Apps: list of interactive applications.

The use of the different menus is described in the following sections:
OOD main dashboard#
The OpenOnDemand main dashboard menu shows the message of the day which is similar to the message you see when connecting to Grex via SSH. It shows the url for the documentation and support email to contact in case you need help. Some other information are also added to the message of the day.
If you scroll down from the front page, some icons with links to pinned applications and the subset of all available applications you have used recently:
Apps menu#
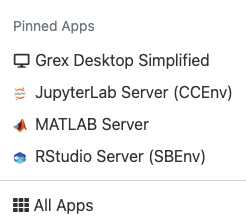
This menu show links to the pinned applications like Grex Simplified Desktop and a link to all application.
Files#
One of the convenient and useful features of OOD is its Files app that allows you to browse the files and directories across all Grex filesystems: /home and /project.

The main features accessible vile the menu Files are:
- Access to storage: home and project directories.
- Create new directories and files via the sub-menus New File and New Directory
- View and edit text files
- Upload or download files via Upload and Download sub-menus.
- Delete data: files or directories.
- Copy or move data (files and directories).
- Access to a path to a file or directory using the sub-menu Copy Path.
- Open a terminal to a selected directory.
- While working with the directories, you could view the content of the folder, rename the folder, delete the folder. It is also possible to download the folder as zip file.
- While working with files, you can edit and change the text file, rename and delet files.
The Files interface also allows interaction with remote storage locations:
- A link to Globus : this sub-menu start the Globus web interface in the current directory in Files tab. For more information about globus, please have a look to the dedicated page .
- If you have configured any rclone remotes, such as MS OneDrive , NextCloud or an Object Storage they will appear in Files menu along with your local Home and Project directories.
Jobs#
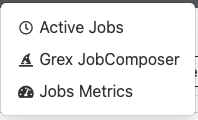
This menu gives access to Active Jobs; Jobs Metrics and Grex Job Composer:
Active Jobs:
From this menu, you can access the list of current jobs on the queue. In other terms, anything you could get from running squeue from the command line. There is a field with the name Filter where you can type Queued or Running if you want to filter the queued or running jobs.

Jobs Metrics:
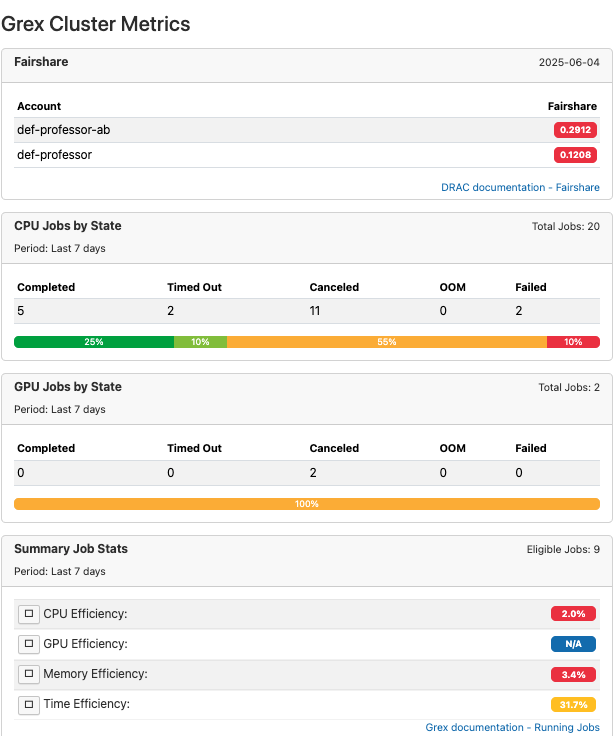
From this menu, you can access the fairshare of your group and other metrics about the efficiency of the jobs from your group for the last 7 days. Similar metrics can be obtained using sacct command with appropriate format and options.
Grex Job Composer:
From this menu. it is possible to access a form with predefined or generic slurm templates to generate slurm scripts. It offers the options to customize, save and submit jobs.
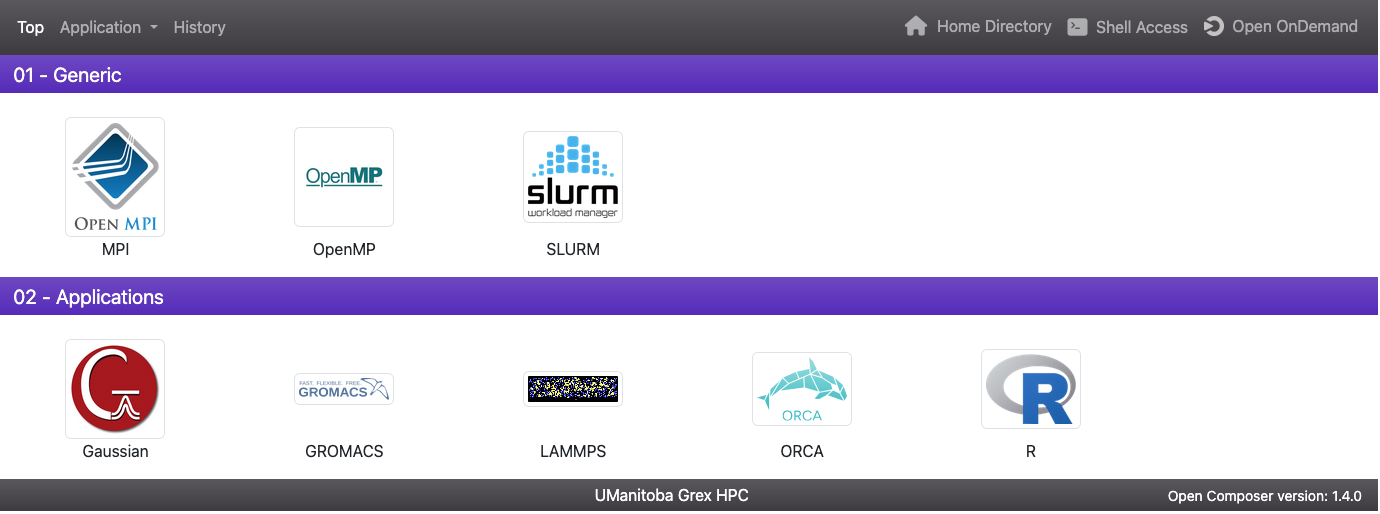
This will be discussed in more details in another section.
Clusters#
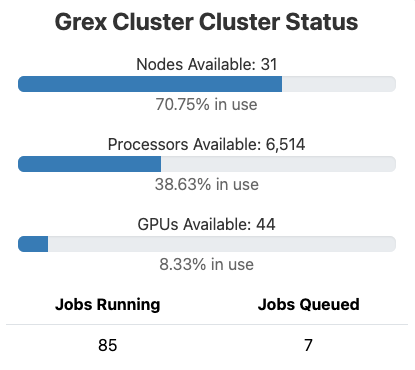
From this menu, you can access the current partitions status and the Grex Cluster Cluster Status. This later shows a summary and the overview of the reources and their state, like number of available nodes, number of available processes, numper of the GPUs available and number of jobs in running and queued state.
From the menu Partitions Status, one can see the state of each partition where it shows the name of the partition, number of free nodes, number of free cores and memory.
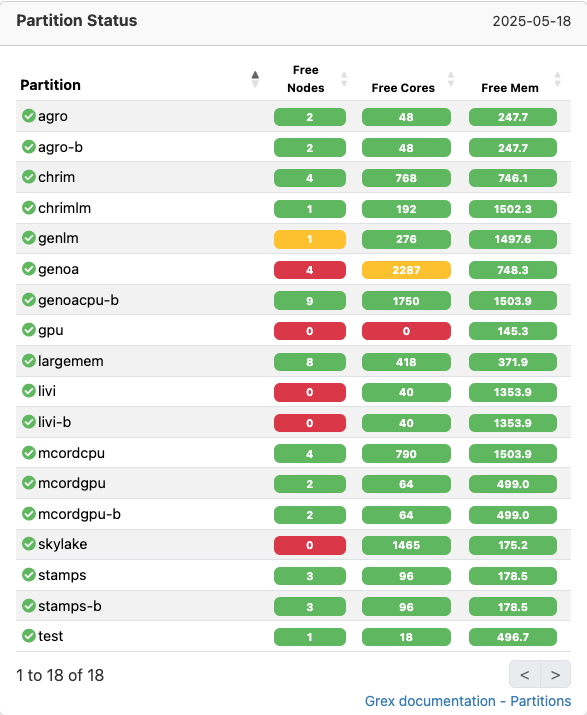
A variant of the above information is available via command line by running the command partition-list from any login node.
Interactive Apps#
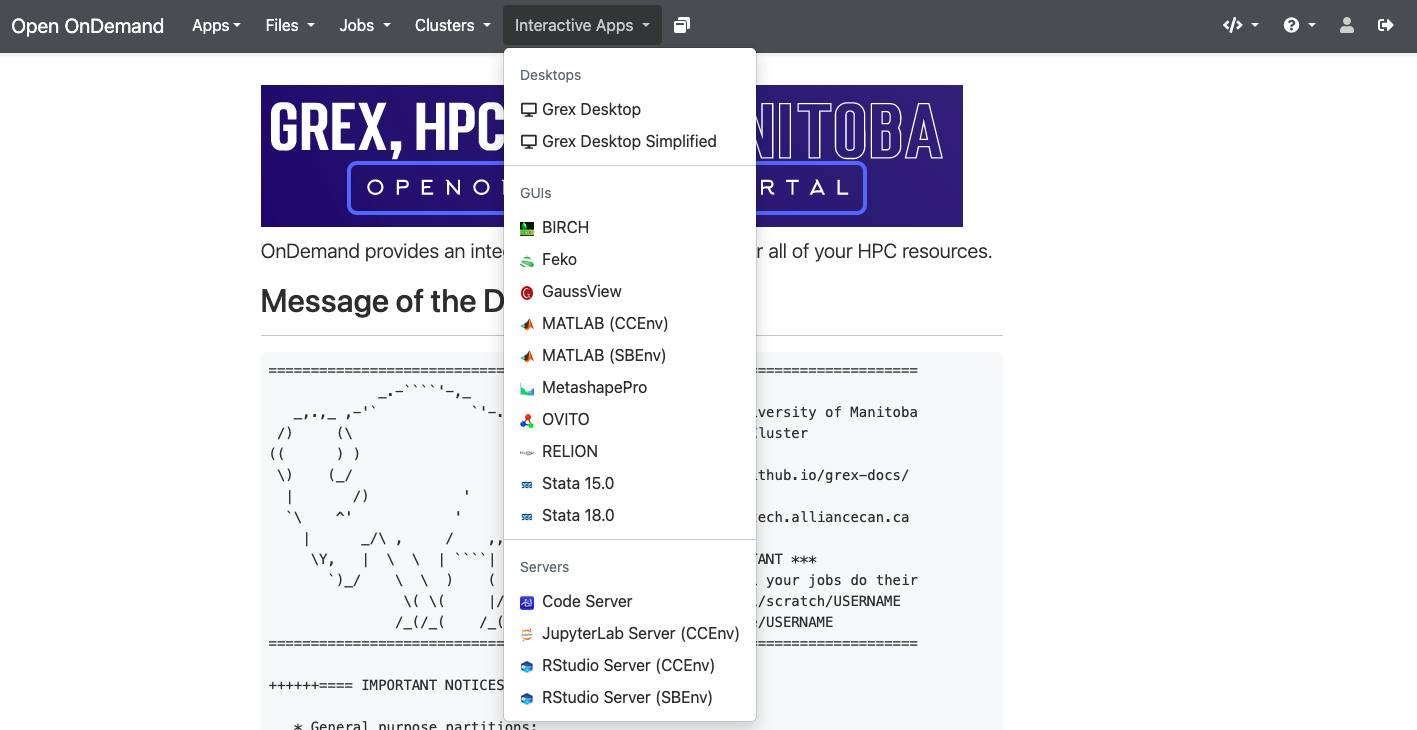
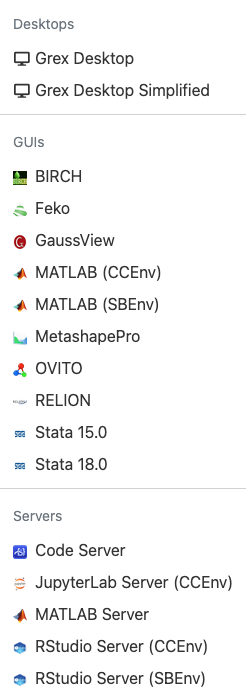
From this menu, one can access different applications that classified into 3 categories:
- Desktops like Grex Desktop and Grex Desktop Simplified.
- GUI Apps like Matlab, Gaussview, Ovito, Stata, … etc.
- Servers like Jupyter, Code Server and RStudio.
A lisf of ineractive applications is accessible from the top menu Interactive Apps as shown in the following screenshot:
Customized OOD apps on Grex#
The OOD Dashboard menu, Interactive Apps, shows interactive applications. This is the main feature of OOD, it allows interactive work and visualizations, all in the browser. These applications will run as SLURM Jobs on Grex compute nodes. Users can specify required SLURM resources such as time, number of cores, wall time, partition name, … etc.
After filling all the requirements and launching the Apps, the Apps jobs are submitted via a button Launch. The corresponding jobs appear in the Interactive Sessions tab. They can be used, monitored, connected to, and terminated as needed.
There are numerous supported applications in OpenOnDemand on Grex. These applications fall into two broad categories: Virtual Desktop apps (the ones delivering a Linux Desktop with some GUI software via NoVNC) and Servers that are delivered through a Web Proxy. A prominent example of a Server app is Jupyter Notebook or Jupyter Lab. Some Apps such as Matlab or Rstudio exists both as a Linux Desktop GUI and a Server version.
We keep actively developing the OOD Web Portal, and the list below may change over time as we add more popular applications or remove less used ones!
As for now, the following applications are supported:
| Application | Type | Availability | Notes |
|---|---|---|---|
| Linux Desktop | NoVNC Desktop | Generally available | - |
| GaussView | NoVNC Desktop | Licensed users only | - |
| Matlab | NoVNC Desktop | Generally available | - |
| Matlab Server | Server | Generally available | - |
| JupyterLab Server | Server | Generally available | Comes for SBEnv and CCEnv |
| RStudio Server | Server | Generally available | Comes for SBEnv and CCEnv |
| CodeServer | Server | Generally available | - |
| Gnuplot | NoVNC Desktop | Generally available | - |
| Grace | NoVNC Desktop | Generally available | - |
| MetaShape Pro | NoVNC Desktop | Licensed users only | - |
| RELION | NoVNC Desktop | Generally available | - |
| STATA | NoVNC Desktop | Licensed users only | - |
| Feko | NoVNC Desktop | Licensed users only | |
| Ovito | NoVNC Desktop | Generally available | - |
Note that only Apps available (licensed) to your research group will be visible in your group members’ OOD interface.
As with regular SLURM jobs, it is important to specify SLURM partitions for them to start faster. Perhaps the test partition for Desktop is the best place to start interactive Desktop jobs, so it is hardcoded in the Simplified Desktop item.