Introduction#
We are pleased to provide a “pilot project”, starting Apr 2026, for Nextcloud Files , an Open Source, Dropbox-like storage service, for all Grex users. You can use your Grex ( CCDB ) username and password to log in to the https://nextcloud.hpc.umanitoba.ca server.
Nextcloud files allow for accessing your data from a Web Interface, command line tools like RClone, and a Desktop client on MacOS or Windows.
- Server URL: https://nextcloud.hpc.umanitoba.ca
- Server Location: High Performance Computing Centre (HPCC), University of Manitoba.
- Fixed Quota: 100 GB per user.
- Backup Policy: Weekly on-site tape backup.
- Access Methods: Web interface, Nextcloud Desktop Sync Client, Nextcloud mobile apps, RClone, WebDAV clients.
- Documentation: PDF and online
Security and compliance#
Similar to OOD and all other services on Grex, accessing Nextcloud requires authentication with MFA . The Nextcloud is using Grex’s storage, and thus all the data is hosted in the HPCC datacentre at UManitoba. All data transfers between local devices and Grex’s Nextcloud instance are encrypted with SSL/TLS.
Note that this Nextcloud instance is using the same storage as Grex’s main storage, and therefore has same levels of security and privacy compliance. Grex storage is not certified for higher-security data such as non-anonymized data involving Health information, research including human participants, etc. . Please refer to UManitoba’s Data Classification and your Research Ethics Board in case you have questions. Generally, do not put data to the Grex’s Nextcloud that you would not put on Grex via SSH or OOD.
Connect to Nextcloud#
The Nextcloud service can be connected to in several ways:
- Files can be uploaded, downloaded, shared and published via URL, uisng the Web Interface.
- Desktop clients allow for a convenient, automatic synchronization of directories, Dropbox-style.
- Data transfer clients that support WebDAV protocol (like RClone and Cyberduck.io) would be able to access Nextcloud Files.
When using Nextcloud for the first time, we generally recommend users to access it through the Web interface as follows.
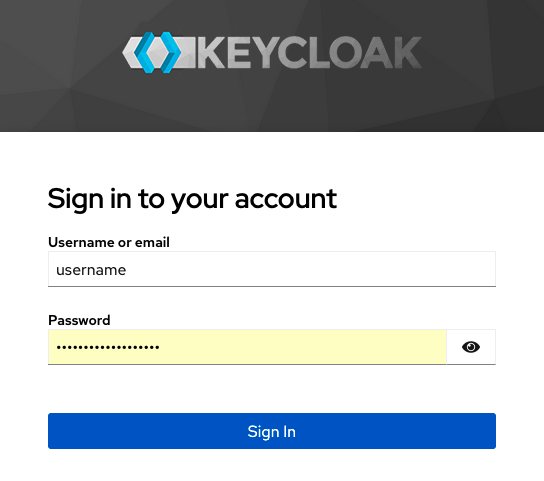
- Point your Web browser to nextcloud.hpc.umanitoba.ca . This will redirect you to our Keycloack IDP screen.
- Use your Grex (Alliance/CCDB) username and password to log in to Grex Nextcloud.Use your Alliance username and password to log in to Grex Nextcloud.
- Provide your Alliance’s Duo second factor authentication when asked.
- Once connected, the interface shows the following view:Nextcloud interface.
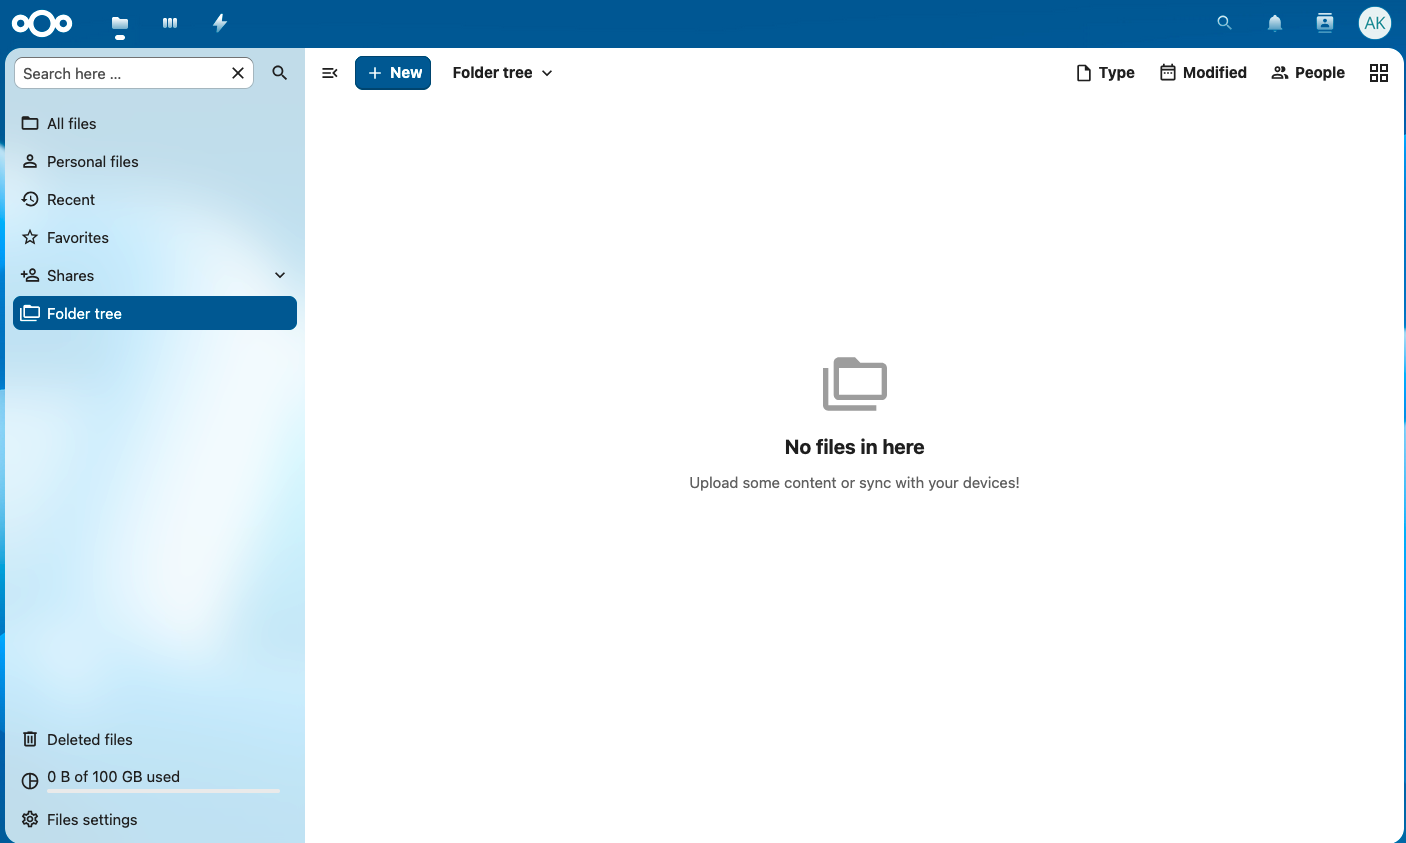
The Web interace then allows for uploading, downloading and sharing files.
Note that the same connection/authentication sequence would be needed for setting up synchronizarion of Desktop clients.
How to use Nextcloud Web interface?#
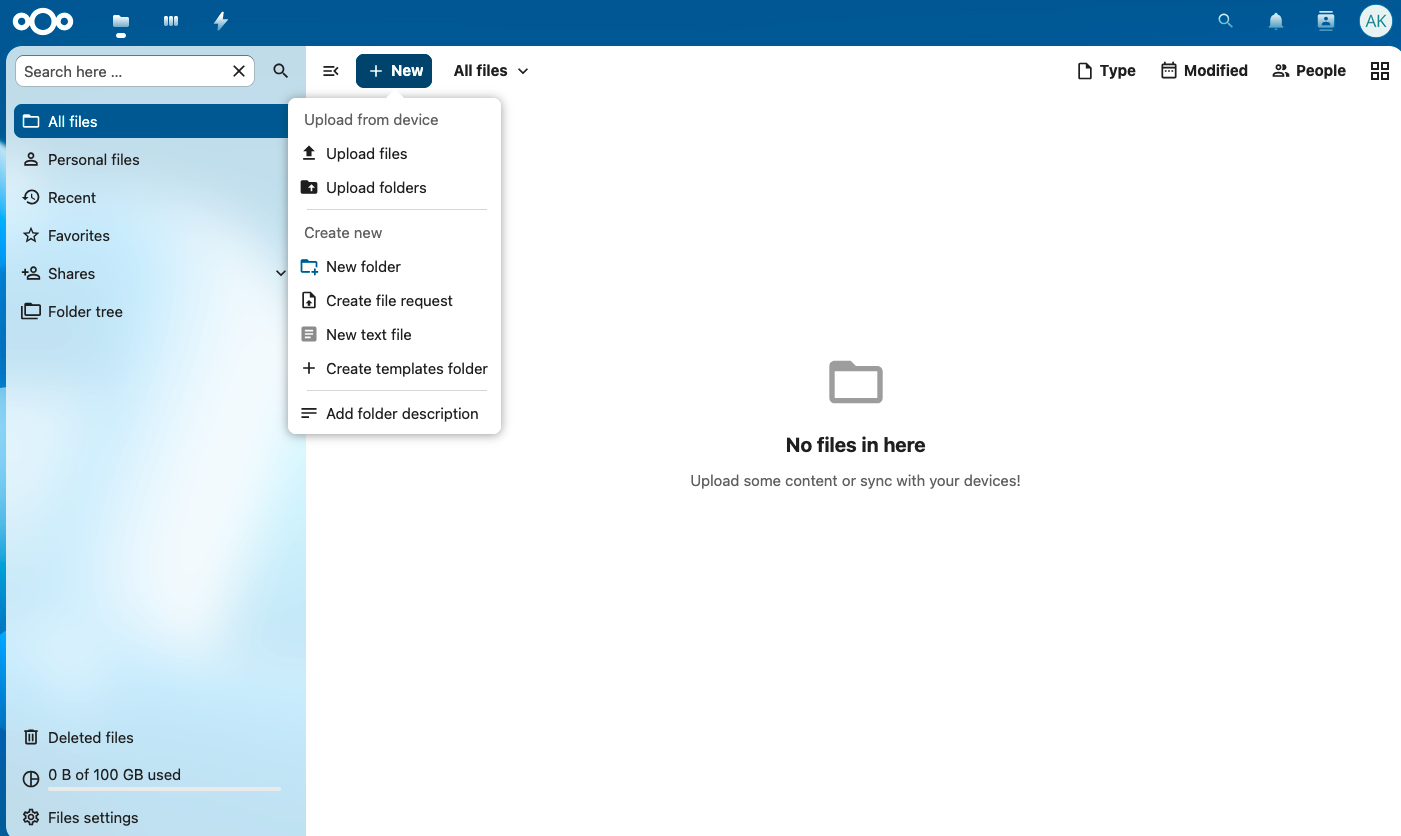
To open the web interface, log in to Grex Nextcloud from a web browser using your Grex (the Alliance) username and password as described above. Once connected to Nextcloud interface, use the menu +New and its sub-menus can be to upload file or folders:
Once you have your data uploaded to Nextcloud, it is possible to download the data and also share files with other users.
To download data, navigate through your data and select the file or the directory to download and use the menu Download:
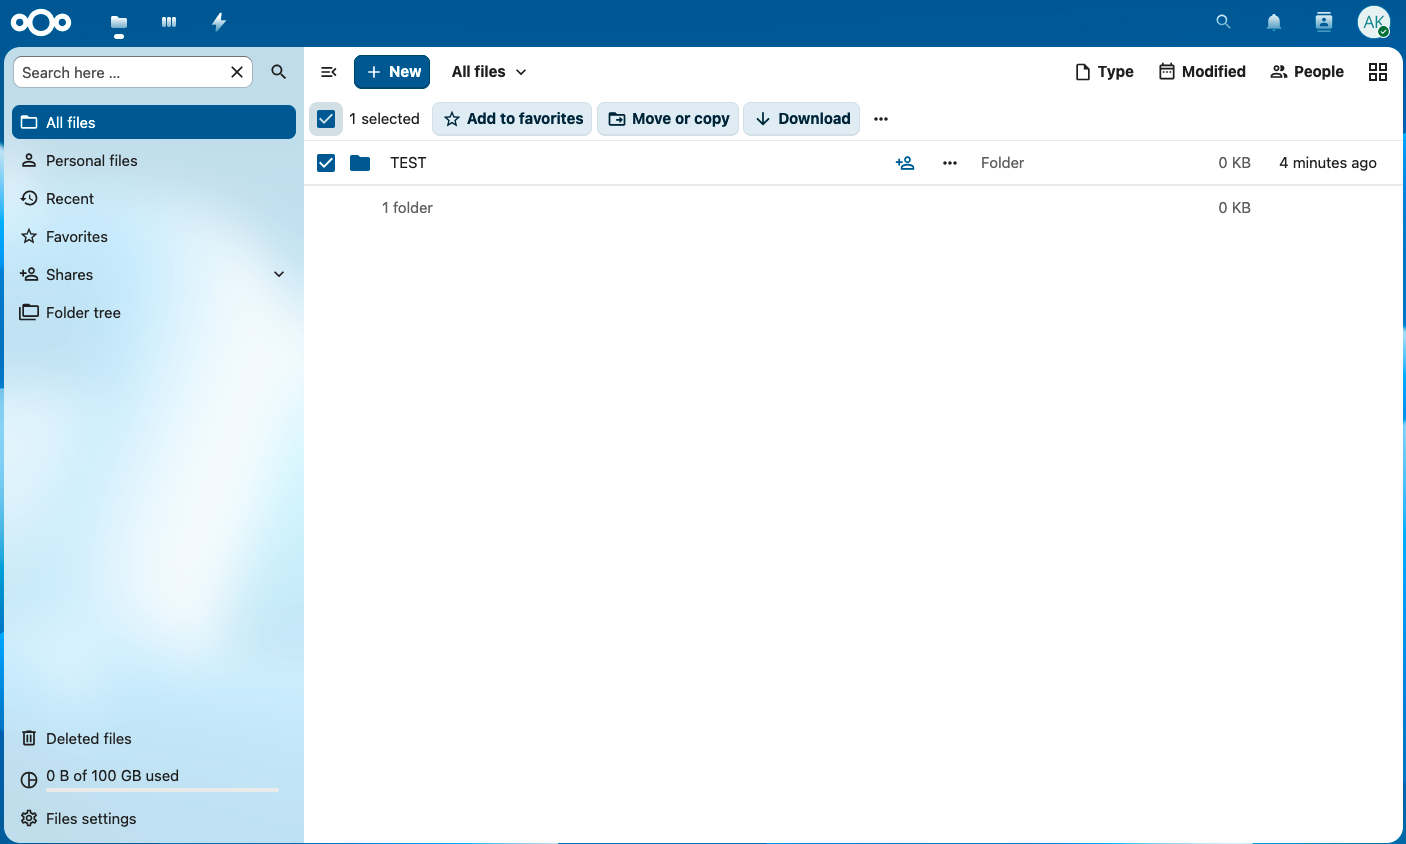
When downloading a directory (for example with the name TEST), Nextcloud will save it on your local machine as a zip archive (in this case, the file will be TEST.zip).
The files and directories on Nextcloud can be shared with other users. In the Web interface, click to the “Sharing options” next to an object (File or Folder):
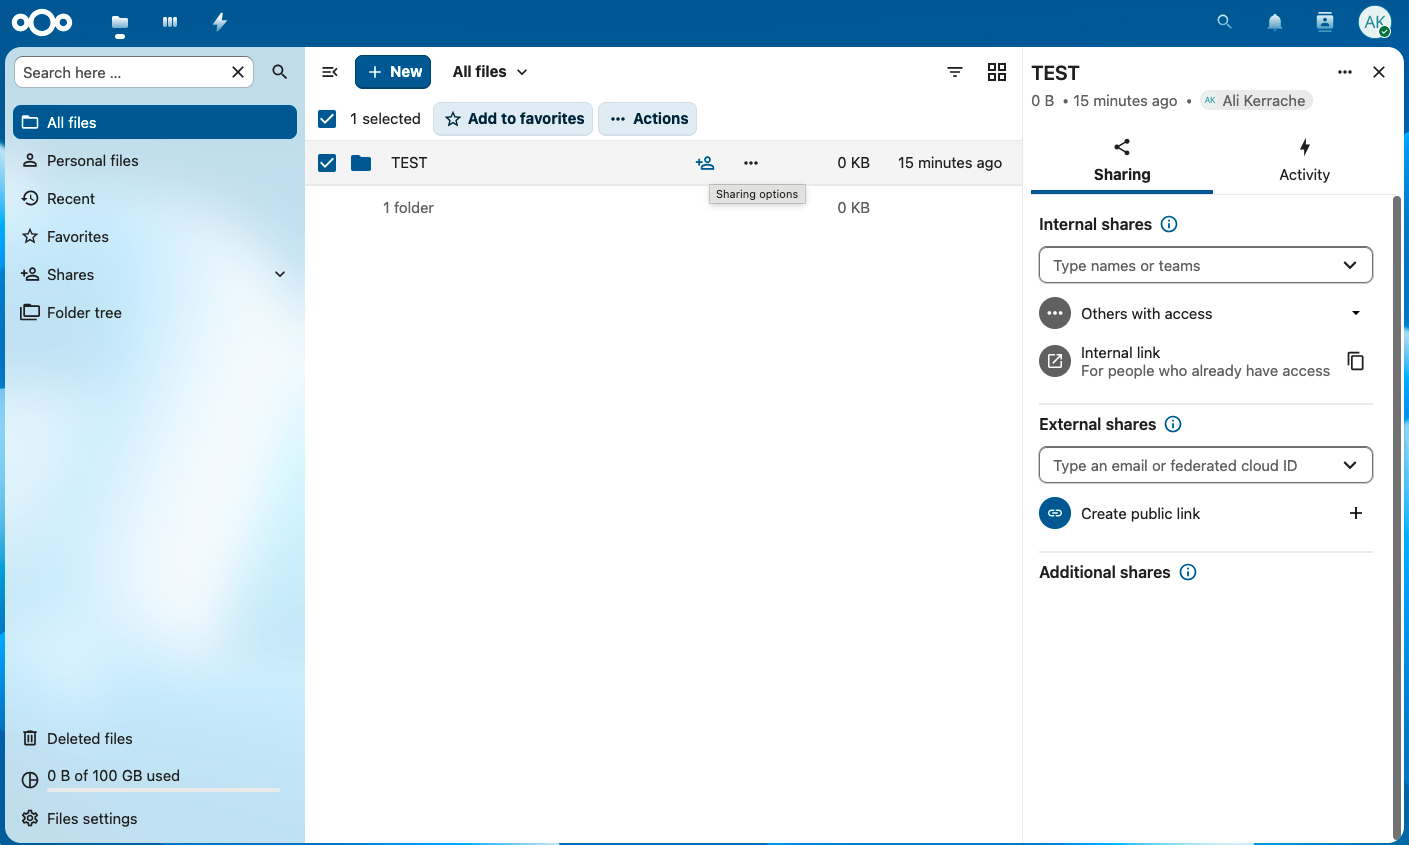
Note that it is up to the researcher to make sure they follow the University’s Security Policies and Data Classification Standard when sharing information outside of the University.
Desktop (and mobile) Nextcloud clients#
Nextcloud Files provide free Desktop clients for MacOS, Windows 10+ , and Linux (via Appimage). Nextcloud Files clients allow to sync local and remote foldes, so that changes between the local folder and your Nextcloud service would happen automatically.
The following steps are to setup a Desktop client on MacOS:
1. Download the appropriate Desktop client for Mac. The Desktop installers are available from the Nextcloud website .
2. Install the Desktop client using the installer you downloaded in the first step. The client installs a MacOS Panel app (top right corner) that runs as a service and provides the synchronization.
3. Launch the Desktop client from your Mac. This will ask you to login. In the field Server address put the URL for Grex Nextcloud and follow the instructions.
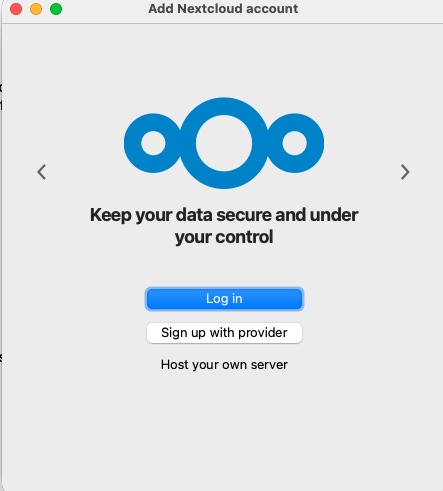
4. The above will open a page in your browser and asks you to log in/ connect to your account as shown in the following screenshot:
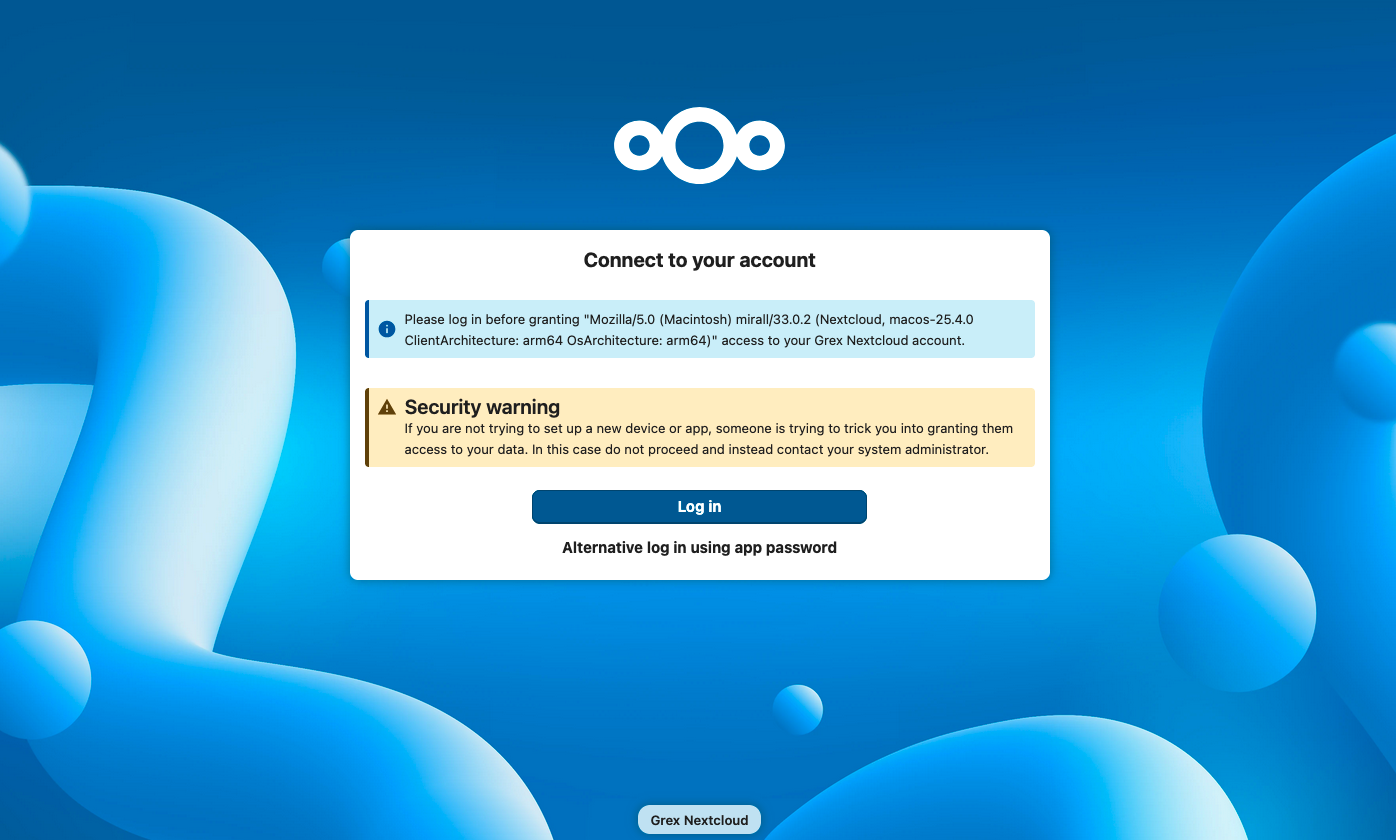
Afer granting access, your account will be linked to your Nextcloud account on Grex. A location for Nextcloud will be added to your Mac. It should be visible from the Finder’s menu bar. It can be used to access your Nextcloud account, and will be able to be automatically synchronized.
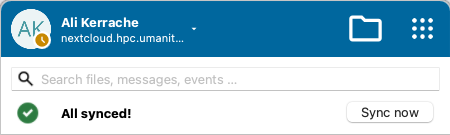
Note that the icon next to the nextcloud account name is only visible when you add at least one folder from your local machine to synchronize with your nextcloud account.
From this menu, you can access Nextcloud settings by clicking on the “down” arrow, and see your data synchronization status. The “Files”, “Dashboard” and “Activity” items there actually open the Web interface; but the Folder-looking icon there, opens local folder in the MacOS Finder.
If you use your MacOS Finder and go to the Nextcloud folder on your Mac, you can work on that directory and the changes will be synced automatically to your Nextcloud folder on Grex.
Note that it may take some time to synchronize all the data. In general, to avoid frequent data transfers and associated delays, it is possible to temporarily disable the “sync” for Desktop clients for the periods of frequent changes (i.e., when doing computations locally that amount to frequent updates of the shared/synchronized files. To do that, click on the Nextcloud dashboard icon, click on the dropdown arrow, and use on the Pause syncs for all and then Resume syncs for all menu item.
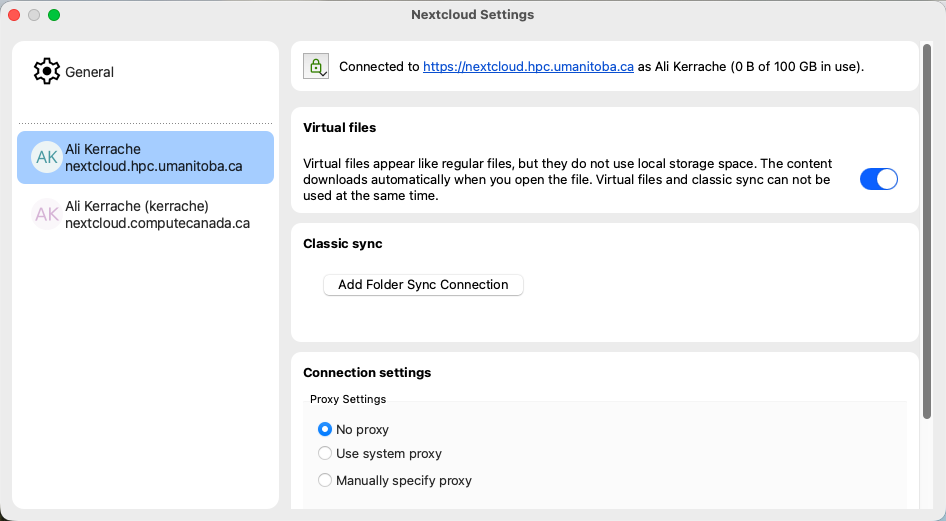
It also is possible to share more than one folder, or use more than one Nextcloud provider. The latter case would be when you want to access, for example, both Grex and ComputeCanada/Alliance Nextcloud instances. To do that, click on the Nextcloud dashboard icon, click on the dropdown arrow, and access “Settings” menu. In the dialog window, pick the Nextcloud instance (such as “User / hpc.umanitoba.ca” ) and Add Folder Sync Connection ). Point to a folder that you’d like shared via this particular Nextcloud service and user.
The above steps are an example to be used on Mac OS. For other operating systems, please download the client and use instructions for the corresponding version of the Desktop client (Linux or Windows). Please refer to Nextcloud user manual and online documentation.